I had a request for a 8 x 8 pre made scrapbook album to be made for a wedding gift. I did not have a lot of notice, but I almost think that was better for me because it got me back into the swing of things after being sick. Crafting wise anyway... I think if I would have had a while to get it done, I know that it would of taken me longer to recuperate. This album was just the push I needed to get back to work.
I made an 8 x 8 pre made wedding scrapbook with a matching card. I also managed to put together a matching gift bag and tissue for the gift to be wrapped in. I am very happy with the results. I wish that I was as happy with the pictures that I took! Unfortunately, I can not go back and take more pictures because it has already been gifted. I am thinking about having copies made of my work from now on, instead of taking photos. At least the larger projects, like this one for instance.
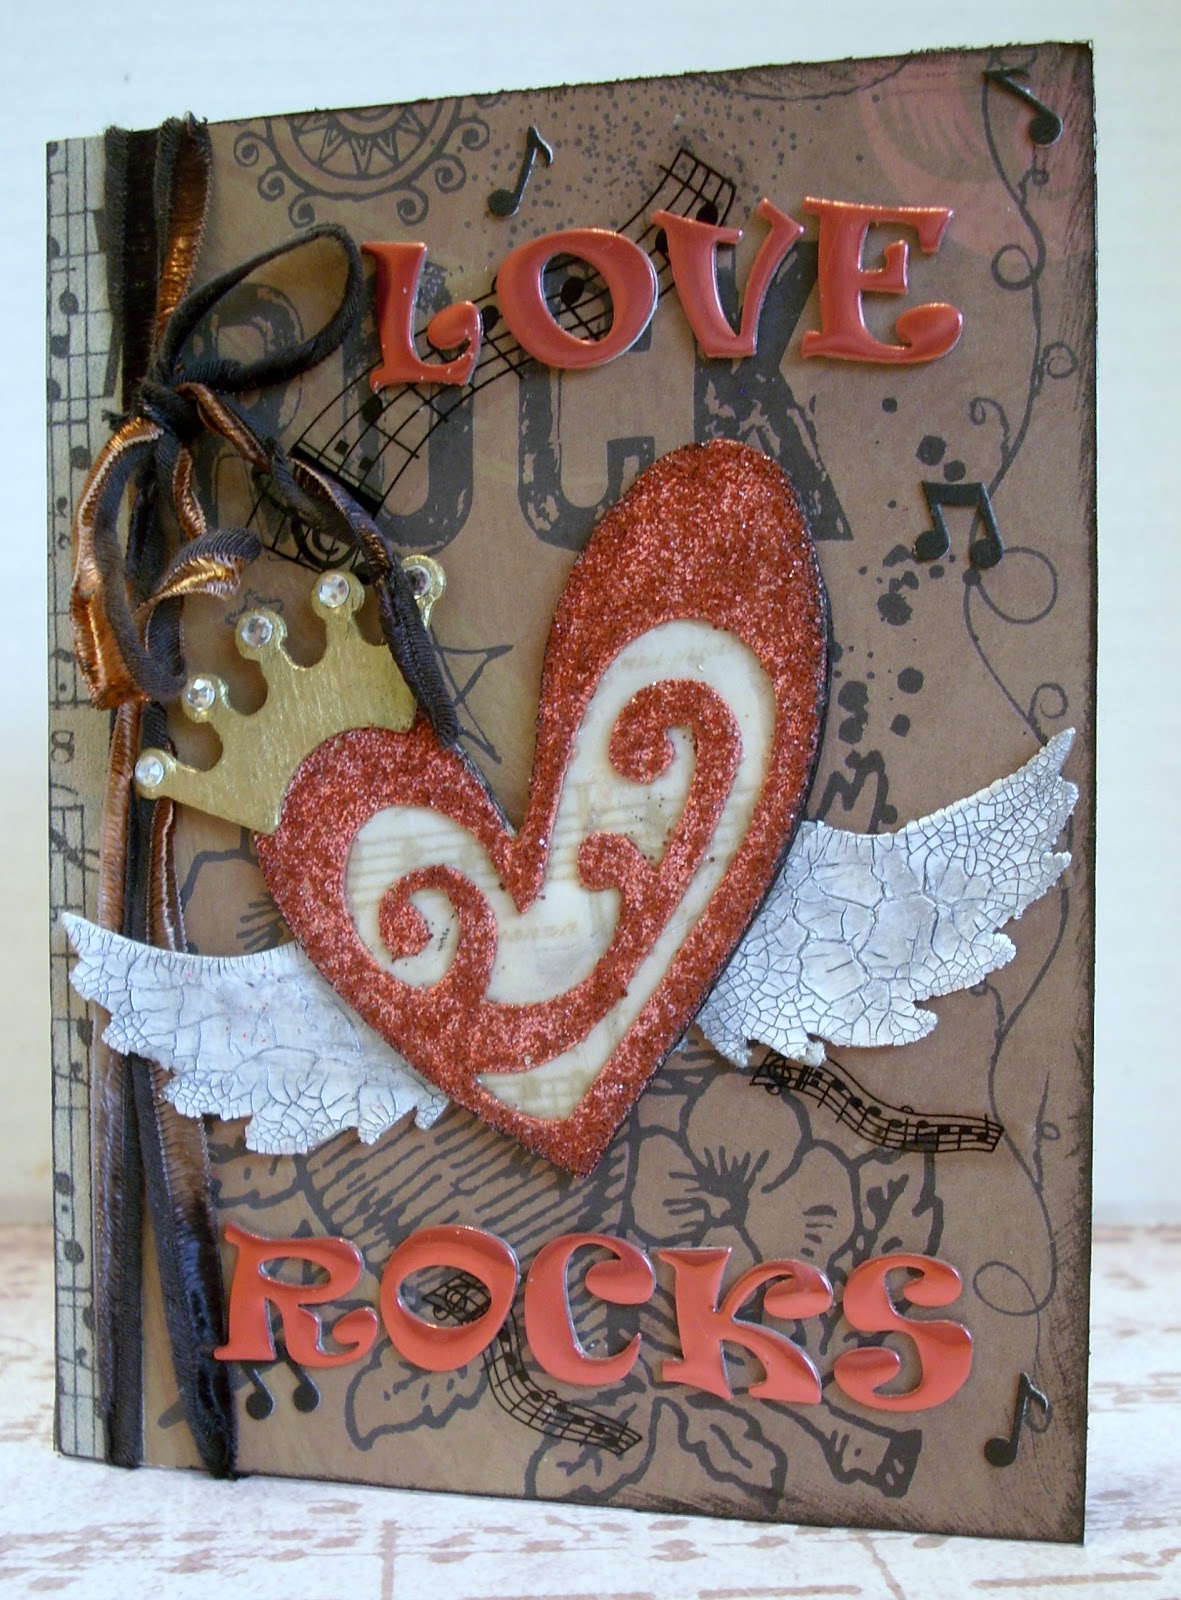
The first photo above is the card that I made as part of the package.
I hand stamped "Congratulations" on one of the embellishments that came with the "Wedding Cake" 3D sticker package by Jolee's, that I used to embellish the front of the card. The sentiment stamp is part of a set by Anna Griffin. I am a big fan of her sentiment stamp sets.
The 8 x 8 album cover is made from black cloth. I added a coordinating piece of scrapbook paper to the photo section and then embellished it with the initial of the groom's last name, in black pearls. This picture does not do the album justice. A matter of fact the paper looks nothing like what the picture depicts.
The cardstock that was used for the background of the layout pictured above is the same pattern that I used for the front of the album. You can see the colors much better in this photo. All of the scrapbook paper that I used for this album is actually specialty cardstock by me & my Big ideas. The paper stack is simply called "Black and White". However, there is nothing simple about it. Most of the different designs have flocking and there are also 4 transparencies.
I also added a metal embellishment by Making Memories. You will see as we get further into the layouts that the white pearls are a perfect match!
This is the first page of the first layout... I took pix of the layouts side by side but unfortunately this was the best choice as far as quality. Believe me I do realize that this photo is not that great either.
The tag that says "Beautiful DAY" is made out of chipboard and came in a kit called "Nocturne" by Colorbok. I added the white bow and black pearl to the tag to dress it up a bit.
Above, is the second page of the first layout. You can see that the photo mats are made with pearlescent cardstock by Colorbok. The colors of the photo mats may change throughout the book but they are all made from the pearlescent cardstock. So pretty! There are several white and black pearls that adorn both pages, as well as throughout the entire album. White organza and black satin ribbon were also used. The flowers are by Prima. I added the pearls to them and the journaling block as well.
The journal block and the place for the date on the first page both come from journaling sticker books called, "Remarks" by American Crafts. I used different ones from the book throughout the entire album.
Above is the second layout in the wedding scrapbook. For the most part the same elements were used. This time I did us a rub on to add "The Story of Us" along with the flourish to the first page of this two page layout.
On the second page I added a tag and envelope as well.
The envelope is actually made from a gift card case. Coordinating cardstock has been added to the front. I also added pearls and a white flourish that is made from a nonporous type of plastic.
I actually bought the flourishes a few months ago and was going to try using Tim Holtz alcohol inks on them. I still have some left though and will let you see the results by posting to my blog after a play around with them a bit.
I learned a neat technique quite a few years ago when I first started scrapbooking and card making. You may have heard of it. I am always surprised because I have rarely ever seen another papercrafter apply it to their work.
What I do is attach the tags envelope to the layout before I put it in the album. I then make a slit with a craft knife through the protective cover so that I can actually slip the tag into the envelope from the outside of the clear page protector. This way when someone is viewing the book they do not have to actually remove the scrapbook page to read the tag. The tag can be removed and put back independently. I have always felt that it makes a scrapbook more interactive too.
Above is a picture of the tag half way out on the top of the page protector and the envelope is still attached to the page.
The tag that I made for this album is actually just a plain black cardstock tag with black and white fibers tied at the top. I added the newlywed's marriage application announcement from the local newspaper. This was a very small ceremony and there was not alot of memorabilia to work with. Our newlyweds don't even read the paper so the bride had not even seen the announcement until she viewed it in her new scrapbook. I thought that was neat.

Above is the third layout. This time on the top half of both of the pages I added coordinating transparency layered on top of white pearlescent cardstock. I also used a different type of ribbon along the top of the bottom borders. It is a white satin ribbon with silver wording. The words that are showing are togetherness, love, cherish and feelings. This ribbon comes in a package containing three different wedding themed designs by Making Memories. I have to say that I think the ribbon is very pretty but you want to be careful because you do not get a whole lot of each design.
Again, white flourishes were used.
I went ahead and added another flourish picture. I felt like this picture shows the look that you achieve when you layer pearlescent cardstock and transparency paper.
I also used another journal block adorned with more ribbon and pearl embellishments.
On the second page of the layout, I also added another metal Making Memories embellishment that says, "Here comes the Bride".
The fourth layout is actually one of the more simpler layouts. Both pages have alot of the same elements that you have seen on previous pages before.
I used one of the smaller journal blocks for this layout to. Instead of ribbon I opted to use what is supposed to look like a string of white pearls.
This next two page layout, pictured above, is the fifth layout. On the first page of the layout I used another chipboard embellishment of a butterfly from the Nocturne Collection.
On the second page I added another journal block adorned with the pearls and then simply placed some of the Prima flowers along the sides towards the bottom of the page.
For a more simple layout, the colors and the look of the flocked specialty cardstock really made this layout a pretty one. I still haven't been able to decide, but this layout is one of my favorites.
For the sixth layout I chose to use the white organza and black ribbon for an embellishment. I also tied some simple bows out of the black satin ribbon and added a few pearls. White flourishes were added as well. This background design has the beautiful flocking. If done right, flocking really adds such a richness to the background design, and the whole album for that matter.
I used a rub on to add "Happily Ever After" directly to the cardstock background.
I also chose to use another simple journal block on this layout to make room for more photos.
On my seventh layout I used the layered Prima flowers as a border instead of the ribbon. I added a journal block and a small place to include the date. The reason for the different places for the date is to allow the couple a place for photos of their honeymoon as well.
Even though I had already included the full layout I wanted to also include a photo of one of the pages by itself. It is such a higher quality photograph and really shows off the colors and layout much better.
I included another chipboard embellishment to adorn the side of the journal block. Of course pearls and ribbon were added to both.
On the second page of the layout I added the word "Always". It was part of the Making Memories metal embellishment package. Unlike the metal embellishments however it is made from chipboard and covered in silver glitter.
Well, above is the eighth layout... one more to go after this one!
Again, I chose to show you one of the pages because it just shows the details, colors and the overall feel of the layout better. I would show you each page and just exclude the two page photo but the first page of this layout didn't turn out so hot...
Wish I could just blame it on the camera, but I am afraid it's me. I actually just got a new 10 mega pixel camera but I have not figured out how to use it yet. I am just as bad as most men when it comes to reading instructions. (Shh! Don't tell anybody. I would never admit this to Glenn!) Anyway I need to learn and quit using this 4 or 5 mega pixel camera. Maybe that would help...
Actually I know this is a little off the subject but I would love to hear how you take your photos of your crafts? Of do you scan them? Any tips, tricks or advice would be so appreciated. I spend entirely way to much time attempting to get decent photos for my blog,
my Etsy Shop, etc. It just doesn't seem like it should be this hard.
Back to the layout... I used a metal quote that says "There is only one happiness in life, to love & to be loved. ~George Sard. When I first read this quote I thought to myself that it was not true that there are alot of other things that make me happy. After tossing this idea around a while I came to the realization that we can love anything. For instance I love my crafts, which in turn make me happy.
I used a single strand of black satin ribbon this time and then adorned it by placing white pearls every 1/2 inch. I really liked the look when it was done.
And again, another chipboard tag was used that states "Together Forever".
Above is the first page of the ninth and final layout.
I used a date tag from the journal collection, a Prima flower and a chipboard flower for decoration along with the photo mat, ribbon and pearls. Of course we cannot forget the great background specialty cardstock.
On the second page of the layout I added a journal block along with the photo mat, ribbon and pearls.
All of the photo mats in this scrapbook were measured to fit 4 x 6 photos. When making a pre made scrapbook without being able to speak with the owner of the book I do not make photo mats that would require the person completing the album to crop their photos. Not everyone knows how to crop photos or wants to for that matter. I generally cut my first layer at 4 1/2 x 6 1/2 in size and then the second layer or top layer of the photo mat is cut at 4 1/4 x 6 1/4 in size and then attached to the bottom layer. This makes for a double layered photo mat with 1/4 inch borders.
I know that it was not necessary to show you this chipboard flower embellishment photo. It was easily seen on the layout photo but I simply wanted to include it because it turned out good and I did not want to waste a good photo...
I hope that you enjoyed looking through my pre made wedding scrapbook as much as I enjoyed putting it together. Hopefully you were able to gain a few new tips or some inspiration for your next project.
Don't forget to stop by and see everyone's entries for the Creative Spirit Challenge at
Cindy Adkins' Whimsical Musings. Everyone is welcome to join the link party. Like Cindy says "The more the merrier!"
Thanks for stopping by. I would love to hear from you. You can leave your comments following this post. Please remember to also leave your contact information if you would like for me to reply.
Until Next Time... Take Care!